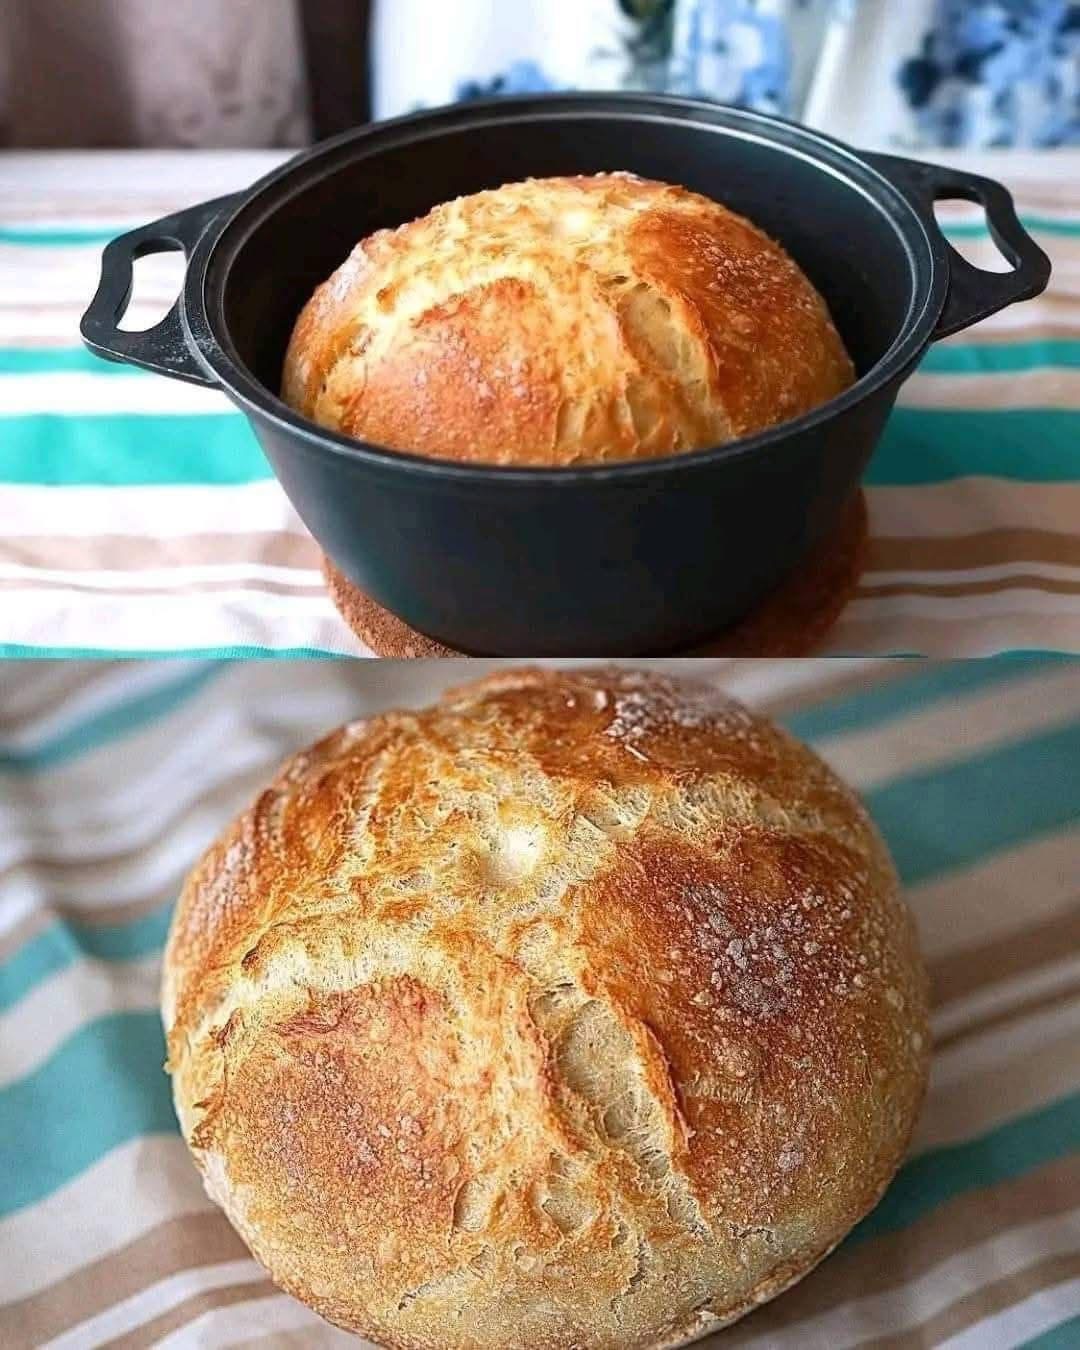
Of course! Here is a traditional recipe for classic homemade white bread. This is a straightforward, no-fuss recipe that yields two beautiful, soft, and fluffy loaves with a crisp, golden crust. It’s the quintessential bread of childhood memories.
The Foundation: Traditional White Sandwich Bread
This recipe uses simple ingredients and techniques that have been passed down for generations.
Makes: 2 loaves
Prep time: 25 minutes + 2 hours rising
Bake time: 30 minutes
Ingredients
· 6 – 7 cups (750-875g) All-Purpose Flour (plus more for dusting)
· 2 ¼ teaspoons (1 packet – 7g) Active Dry Yeast
· 2 ½ cups (590ml) Warm Water (about 105-115°F / 40-46°C)
· 2 tablespoons (25g) Granulated Sugar
· 1 tablespoon (18g) Salt
· 2 tablespoons (30ml) Neutral Oil (like vegetable, canola, or olive oil)
· 2 tablespoons (28g) Unsalted Butter, softened (for brushing the tops)
Instructions
Step 1: Proof the Yeast
In a very large bowl, dissolve the sugar into the warm water. Sprinkle the yeast over the top and gently stir. Let it sit for 5-10 minutes until it becomes foamy and creamy. This “proofs” the yeast, ensuring it’s alive and active. If it doesn’t foam, your yeast may be old, and you should start over.
Step 2: Make the Dough
· To the yeast mixture, add the oil and 3 cups of flour. Stir with a wooden spoon until it forms a shaggy, wet batter.
· Add the salt. A note on salt: Salt can kill yeast if directly combined, which is why we add it after the initial flour buffer.
· Gradually add the remaining flour, ½ cup at a time, stirring until the dough becomes too stiff to stir.
Step 3: Knead the Dough
· Turn the dough out onto a lightly floured surface. Begin kneading by pushing the dough away from you with the heel of your hand, then folding it back over itself, giving it a quarter turn, and repeating.
· Continue kneading for 8-10 minutes, adding only small amounts of flour as needed to prevent sticking. The dough is ready when it is:
· Smooth and elastic
· Slightly tacky, but not sticky
· It should spring back slowly when you poke it with your finger.
Step 4: First Rise (Bulk Fermentation)
· Clean and lightly oil the same large bowl. Place the kneaded dough in the bowl, turning it once to coat it lightly in oil.
· Cover the bowl with a clean, damp kitchen towel or plastic wrap.
· Place it in a warm, draft-free spot (like an off oven with the light on). Let it rise for 1 to 1 ½ hours, or until it has doubled in size.
Step 5: Shape the Loaves
· Gently punch down the dough to release the air bubbles.
· Turn it out onto a lightly floured surface and divide it into two equal pieces.
· Flatten one piece into a rough rectangle, about 9×7 inches. Tightly roll the dough up from the short end, like a jelly roll. Pinch the final seam to seal. Tuck the ends under and place the loaf, seam-side down, into a greased 9×5 inch loaf pan.
· Repeat with the second piece of dough.
Step 6: Second Rise (Proofing)
· Cover the loaf pans with the damp towel again and let them rise in a warm place for about 45-60 minutes, or until the dough has risen about 1 inch above the rim of the pan.
Step 7: Bake the Bread
· While the dough is rising, preheat your oven to 375°F (190°C).
· Once risen, place the loaves in the preheated oven and bake for 25-35 minutes. The bread is done when:
· It has a deep, golden-brown crust.
· It sounds hollow when you tap the top.
· The internal temperature reads 190-200°F (88-93°C) on an instant-read thermometer.
· Optional: For a softer crust, brush the tops with the softened butter as soon as they come out of the oven.
Step 8: Cool Completely
· Immediately remove the loaves from their pans and place them on a wire cooling rack. This is crucial! If you leave them in the pan, they will become soggy.
· Let the bread cool completely (at least 1-2 hours) before slicing. The bread is still cooking internally during this time, and slicing it warm will result in a gummy texture.
Pro Tips for Perfect Traditional Bread
- Water Temperature is Key: Too hot, and you’ll kill the yeast. Too cold, and it won’t activate. It should feel warm to the touch, like a pleasant bath temperature.
- Don’t Kill the Yeast: Keep salt away from direct contact with the yeast until there’s a buffer of flour.
- The Windowpane Test: To check if your dough is kneaded enough, take a small piece and gently stretch it. It should form a thin, translucent “windowpane” without tearing immediately. This indicates a strong gluten network.
- Be Patient with the Rise: The rising time can vary greatly with room temperature. Don’t rush it! The dough is ready when it has visibly doubled, not when the clock says so.
- Use a Scale: For ultimate consistency, weigh your flour. Cups can be inaccurate due to settling. 1 cup of all-purpose flour is approximately 125g.
Common Variations
· Whole Wheat Bread: Substitute 1/3 to 1/2 of the all-purpose flour with whole wheat flour. You may need a touch more water, as whole wheat flour is thirstier.
· Honey Oat Bread: Replace the sugar with honey and fold in 1 cup of rolled oats with the flour.
· Herb Bread: Knead in 2 tablespoons of your favorite dried herbs (like rosemary, thyme, or an Italian blend) during the final minutes of kneading.
Enjoy the incredible, comforting smell and taste of your very own homemade bread. There’s nothing quite like it

