
Of course! Making cheese at home is a rewarding and fun process. It can range from incredibly simple (like ricotta) to complex (like aged hard cheeses). We’ll start with a fantastic beginner recipe: 30-Minute Homemade Ricotta.
This is the perfect gateway into cheesemaking because it requires no special ingredients or equipment, and the result is vastly superior to most store-bought versions.
Simple 30-Minute Homemade Ricotta Cheese
Why it Works: True Italian ricotta is actually a “re-cooked” whey cheese, but this popular method using whole milk and cream is a simple, delicious approximation called a “fresh acid-set cheese.” The acid (lemon juice or vinegar) causes the milk proteins (casein) to coagulate, separating from the liquid whey and forming soft, delicate curds.
Prep Time: 5 minutes
Cook Time: 20 minutes
Draining Time: 10-20 minutes
Yield: About 1 ½ to 2 cups
Ingredients
· 8 cups (½ gallon) whole milk (NOT ultra-pasteurized; the proteins are too damaged to curdle well)
· 1 cup heavy cream (for a richer cheese, optional but recommended)
· 1 teaspoon kosher salt (fine sea salt also works)
· 3 tablespoons fresh lemon juice (or white vinegar) – you may need up to 4 tbsp
Equipment
· A large, heavy-bottomed pot (like a Dutch oven)
· A good digital thermometer (highly recommended)
· A slotted spoon or fine mesh skimmer
· A fine-mesh strainer or colander
· Cheesecloth
Step-by-Step Instructions
Step 1: Heat the Milk
Pour the milk and cream into the heavy-bottomed pot. Stir in the salt. Heat over medium heat, stirring occasionally to prevent scorching on the bottom. Heat until the mixture reaches a temperature of 185°F – 195°F (85°C – 90°C). You will see small bubbles and steam, but it should not come to a rolling boil.
Step 2: Add the Acid
Once the target temperature is reached, turn off the heat. Stir in the 3 tablespoons of lemon juice or vinegar. Stir gently for just 10-15 seconds. You should almost immediately see the curds (white, fluffy solids) separate from the whey (thin, yellowish-green liquid).
Step 3: Let it Rest
Let the pot sit, undisturbed, for 5-10 minutes. If you don’t see a clear separation after 5 minutes, add another tablespoon of acid and stir gently.
Step 4: Drain the Curds
· Line your strainer or colander with 2-3 layers of cheesecloth (or a clean, thin kitchen towel) and place it over a large bowl to catch the whey.
· Gently ladle or pour the curds and whey into the lined strainer.
· Let it drain for 10-20 minutes, depending on your desired consistency:
· 10-15 minutes: A softer, moist ricotta, perfect for spreading on toast or using in cannoli.
· 20+ minutes: A thicker, drier ricotta, ideal for stuffing pasta like ravioli.
Step 5: Enjoy!
Your homemade ricotta is ready to eat! Taste it and adjust with a little more salt if needed. Let it cool completely before storing.
Tips for Success & Troubleshooting
· Don’t Throw Away the Whey! The leftover liquid whey is full of protein and nutrients. Use it to boil pasta, bake bread, cook rice, or add to smoothies.
· Why didn’t my cheese curdle?
· The milk was ultra-pasteurized. This is the most common issue. Always check the label.
· The temperature wasn’t high enough. Use a thermometer to ensure you hit at least 185°F.
· Not enough acid. Add another tablespoon.
· Customize It! Infuse the milk with flavor as it heats. Add a few sprigs of fresh thyme, rosemary, or a couple of smashed garlic cloves. Strain them out before adding the acid.
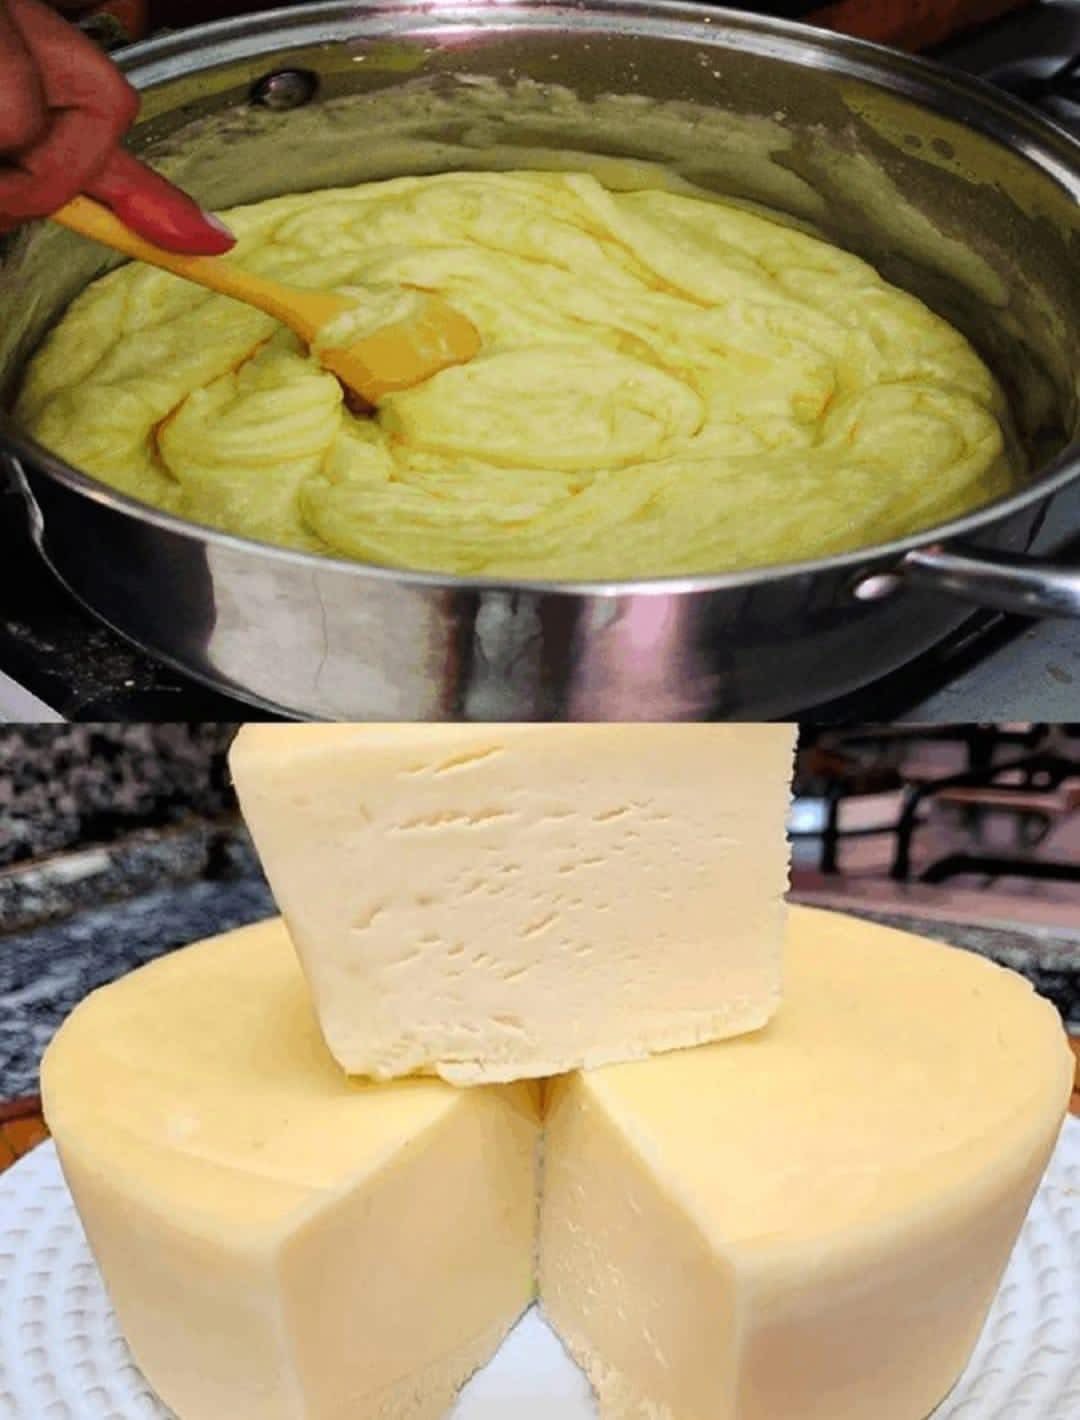
· For a Firmer Cheese (Paneer/Queso Fresco): Follow the same steps, but once the curds have drained, gather the cheesecloth into a bundle and place a heavy weight (like a can of tomatoes) on top for 1-2 hours.
A Glimpse into More Advanced Cheesemaking
Once you’ve mastered ricotta, you might want to explore further. The next step up is often a simple Farmers Cheese or Mozzarella.
What You’ll Need to Advance:
· Specialized Ingredients: Rennet (an enzyme that sets the milk), mesophilic or thermophilic cultures (specific bacteria for flavor and acidity development).
· More Precise Equipment: A cheese press, aging boxes, and cheese wax for aged varieties.
· Patience: While ricotta takes minutes, aged cheeses like Cheddar or Gouda require weeks, months, or even years of careful aging.
Simple Flavor Variations for Your Ricotta
· Herbed: Mix in chopped fresh basil, chives, parsley, black pepper, and a drizzle of olive oil.
· Sweet: Stir in a little honey, maple syrup, or powdered sugar and some lemon zest. Perfect for desserts.
· Lemon Zest & Black Pepper: A classic, bright combination.
Enjoy the magic of transforming simple milk into fresh, delicious cheese! It’s a satisfying process that will make you appreciate this ancient culinary art.