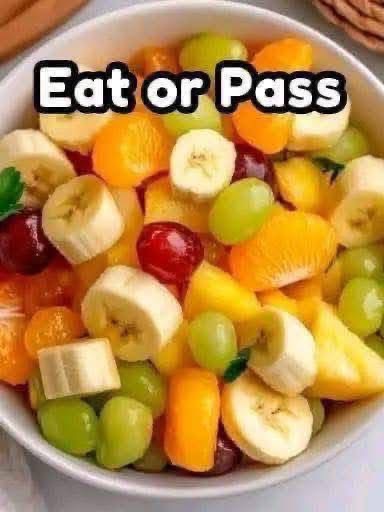
Of course! Hawaiian Cheesecake Salad is a delicious, no-bake dessert that’s incredibly easy to make. It’s a creamy, fruity, and fluffy treat that combines the flavors of cheesecake with the tropical taste of Hawaii. It’s perfect for potlucks, parties, or a simple summer dessert.
Here’s the classic recipe:
Hawaiian Cheesecake Salad
This recipe serves 8-10 people.
Ingredients:
· 1 (8 oz) block cream cheese, softened to room temperature
· 1 (3.4 oz) box instant cheesecake-flavor pudding mix (or vanilla pudding)
· 1 cup milk (whole milk works best)
· 1 (8 oz) tub frozen whipped topping (like Cool Whip), thawed
· 1 (20 oz) can pineapple tidbits or chunks, drained well
· 1 (11 oz) can mandarin oranges, drained well
· 2-3 cups mini marshmallows (optional, but classic)
· 1 cup shredded sweetened coconut (optional)
· Maraschino cherries, for garnish (optional)
Instructions:
- Prepare the Fruit:
· Drain the canned pineapple and mandarin oranges very well. Pat them gently with a paper towel to remove excess moisture. This is key to preventing a watery salad.
- Make the Cream Cheese Base:
· In a large bowl, use an electric mixer to beat the softened cream cheese until it’s completely smooth and lump-free.
· Add the box of instant pudding mix and the milk. Beat on medium speed for 1-2 minutes until the mixture is thick and smooth.
· Note: It will be very thick, almost like a frosting. This is normal!
- Fold and Combine:
· Using a spatula, gently fold in the thawed whipped topping until the mixture is uniform and no white streaks remain.
· Gently fold in the well-drained pineapple, mandarin oranges, mini marshmallows, and shredded coconut (if using).
- Chill and Serve:
· Cover the bowl and refrigerate for at least 2 hours, or preferably overnight. This chilling time allows the flavors to meld together and the pudding to set fully.
· Just before serving, give it a gentle stir and garnish with maraschino cherries and a sprinkle of extra coconut.
Pro Tips for Success:
· Room Temperature Cream Cheese: This is the most important step! If the cream cheese is cold, you will have lumps no matter how long you mix it. Let it sit on the counter for at least an hour before you start.
· Drain the Fruit Well: Any extra liquid from the canned fruit will thin out the creamy base and make it soupy. Take the time to drain it thoroughly.
· Customize It: This recipe is very versatile.
· Fruit: Add other fruits like sliced bananas (add right before serving to prevent browning), sliced strawberries, or chopped pecans.
· Pudding: Vanilla or white chocolate pudding mix are great alternatives.
· Lighter Version: Use Neufchâtel (⅓ less fat) cream cheese and sugar-free pudding mix.
· Make-Ahead: This is an excellent make-ahead dessert. It actually tastes better the next day as the flavors have more time to develop.
· Serving: Serve it cold as a dessert or a sweet side dish for a summer BBQ.
This is a guaranteed crowd-pleaser that tastes like a creamy, tropical paradise. Enjoy

