
Of course! Cherry Pie Bars are the ultimate easy dessert that captures all the flavor of a homemade cherry pie but in a portable, easy-to-serve bar form. They’re perfect for potlucks, picnics, and parties.
Here’s a classic recipe with a buttery shortbread crust and crumble topping.
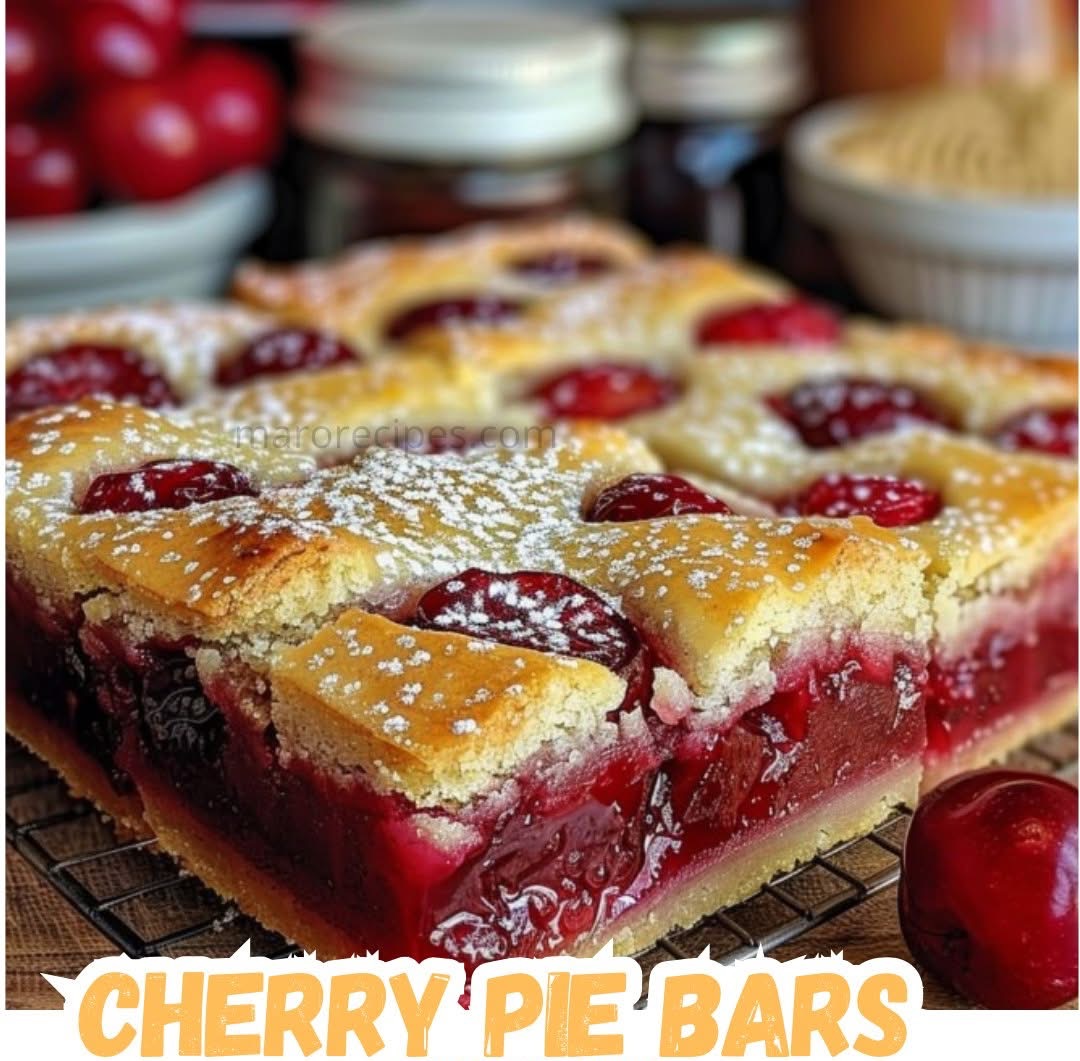
Easy Cherry Pie Bars
This recipe uses canned pie filling for convenience, but there’s an option for homemade below!
Yields: 9×13 inch pan (about 18-24 bars)
Prep time: 20 minutes
Cook time: 40-45 minutes
Ingredients
For the Crust and Crumble Topping:
· 1 cup (2 sticks) unsalted butter, softened
· 2 cups granulated sugar
· 4 large eggs
· 1 teaspoon vanilla extract
· ½ teaspoon almond extract (highly recommended for that classic cherry flavor)
· 3 cups all-purpose flour
· 1 teaspoon salt
For the Filling:
· 2 (21 oz) cans of cherry pie filling (or your favorite flavor)
For the Glaze (Optional):
· 1 cup powdered sugar
· 1-2 tablespoons milk or cream
· ¼ teaspoon vanilla or almond extract
Instructions
- Preheat and Prep: Preheat your oven to 350°F (175°C). Grease a 9×13 inch baking pan or line it with parchment paper, leaving an overhang on two sides for easy removal.
- Make the Dough: In a large bowl, use an electric mixer to cream together the softened butter and sugar until light and fluffy. Beat in the eggs, one at a time, followed by the vanilla and almond extracts.
- Add Dry Ingredients: Gradually add the flour and salt to the wet ingredients, mixing on low speed just until the dough comes together. It will be thick and sticky.
- Assemble the Base: Reserve about 1 ½ cups of the dough for the topping. Press the remaining dough evenly into the bottom of the prepared pan. Use floured fingers or the bottom of a measuring cup to press it down firmly.
- Add the Filling: Spread the cherry pie filling evenly over the crust, leaving a small border around the edges.
- Add the Topping: Take the reserved dough and crumble it evenly over the cherry pie filling. Don’t worry about covering it completely; gaps are good!
- Bake: Bake for 40-45 minutes, or until the top is lightly golden brown and the filling is bubbly.
- Cool Completely: This is a crucial step! Let the bars cool completely in the pan set on a wire rack. This can take 1-2 hours. If you try to cut them while warm, they will be messy.
- Glaze and Serve: Once completely cool, whisk together the glaze ingredients and drizzle over the top. Cut into squares and serve.
Recipe Notes & Tips for Success
· Homemade Cherry Pie Filling Option: If you prefer to make your own, it’s simple!
· In a saucepan, combine 4 cups of pitted fresh or frozen cherries, ⅔ cup sugar, ¼ cup cornstarch, 2 tablespoons lemon juice, and ¼ cup water.
· Cook over medium heat, stirring constantly, until thickened and bubbly. Remove from heat and stir in 1 tablespoon of butter and ¼ teaspoon almond extract. Let it cool slightly before using.
· Room Temperature Ingredients: Using softened butter and room-temperature eggs is key for a smooth, well-creamed dough that bakes evenly.
· Don’t Overmix: Once you add the flour, mix just until combined. Overmixing can lead to tough bars.
· Easy Clean Cutting: For the cleanest cuts, you can place the completely cooled pan in the refrigerator for an hour before slicing. Use a sharp knife and wipe it clean between cuts.
· Other Flavors: This recipe is incredibly versatile!
· Apple Pie Bars: Use apple pie filling and add 1 tsp of cinnamon to the dough.
· Blueberry Pie Bars: Use blueberry pie filling.
· Peach Pie Bars: Use peach pie filling and add a pinch of nutmeg to the dough.
Storage Instructions
· Counter: Store in an airtight container at room temperature for 1-2 days.
· Refrigerator: For longer storage, keep in the refrigerator for up to 5 days.
· Freezer: These bars freeze beautifully! Freeze the uncut pan (or individual bars) wrapped tightly in plastic wrap and foil for up to 3 months. Thaw in the refrigerator overnight.
Enjoy these delicious, easy-to-make bars! They are sure to become a new favorite.