
Of course! If you’re looking to stop buying bread and start making your own, you’ve come to the right place. It’s more rewarding, often healthier, and your kitchen will smell amazing.
Here’s a comprehensive guide to get you started, from the easiest beginner recipes to the tools you’ll need.
Why Make Your Own Bread?
· Control Ingredients: No more preservatives, excess sugar, or sodium. You control what goes in.
· Superior Flavor & Freshness: Nothing compares to the taste and smell of warm, freshly baked bread.
· Cost-Effective: A simple loaf costs a fraction of a store-bought artisan bread.
· It’s Surprisingly Simple: Many recipes require less than 10 minutes of active hands-on time.
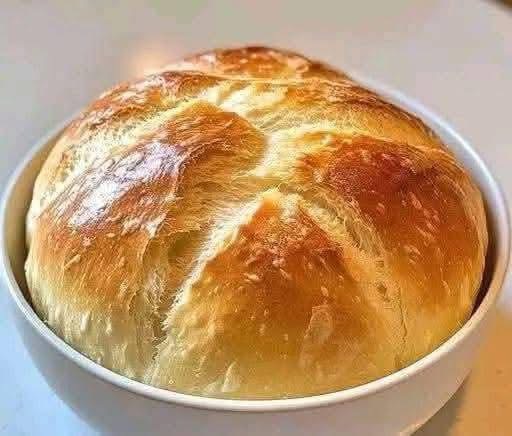
Start Here: The Easiest Bread Recipe Ever (No-Knead Bread)
This is the perfect gateway recipe. It requires no special skills and just one bowl.
Ingredients:
· 3 cups (360g) all-purpose flour
· 1 ½ teaspoons salt
· ½ teaspoon instant or active dry yeast
· 1 ½ cups (350ml) warm water
Instructions:
- Mix: In a large bowl, whisk flour, salt, and yeast. Add warm water and mix until a shaggy, sticky dough forms.
- Rest: Cover the bowl with plastic wrap and let it sit on the counter for 12-18 hours (yes, that long!). The slow fermentation is the magic.
- Bake: Preheat your oven to 450°F (230°C). Place a Dutch oven with lid inside to heat up for 30 minutes. Carefully remove the hot pot, plop the dough into it (it will be bubbly and sticky), put the lid on, and bake for 30 minutes.
- Finish: Remove the lid and bake for another 15 minutes until golden brown and crusty.
Result: A beautiful, artisan-style loaf with a crispy crust and an open, chewy crumb.
Essential Beginner Recipes to Try Next
- Classic Sandwich Loaf: The soft, sliceable bread you’re used to. It requires kneading and a loaf pan.
- Easy Focaccia: A flat, olive oil-rich bread that you press dimples into and top with rosemary and salt. Very forgiving and impressive.
- Yogurt Flatbreads: Mix equal parts Greek yogurt and self-rising flour, knead for a minute, and cook in a hot skillet. Ready in 15 minutes total.
Helpful Tools (You Might Already Have Them)
· Must-Haves: A large mixing bowl, a kitchen scale (for accuracy), a wooden spoon, and a clean kitchen towel.
· Very Helpful: A digital scale (baking by weight is more accurate than cups), a bench scraper, and a loaf pan for sandwich bread.
· Game Changer: A Dutch oven for achieving a professional, crispy crust on artisan loaves.
Common Fears & Solutions
· “I’m scared of yeast.”
· Solution: Yeast is resilient! Just ensure your water is warm, not hot (about 105-115°F or 40-46°C). Think baby-bottle warm.
· “Kneading is too hard.”
· Solution: Try no-knead recipes (like the one above) or “stretch and fold” techniques that are much easier.
· “I don’t have time.”
· Solution: Most of the time is hands-off resting. Mix a no-knead dough before bed, bake it when you get home from work.
· “My bread is too dense.”
· Solution: This usually means the dough didn’t rise enough. Ensure your yeast is fresh and you’re giving it enough time in a warm spot.
A Simple Plan to “Never Buy Bread Again”
- Week 1: Master the No-Knead Bread. Make one loaf for weekends and soups.
- Week 2: Bake a Simple Sandwich Loaf. Use it for your lunches all week.
- Week 3: Experiment with Quick Breads (like beer bread or soda bread) that use baking powder instead of yeast.
- Week 4: Get creative with Focaccia or Homemade Pizza Dough.
Once you get the hang of it, you’ll not only save money but also gain a deeply satisfying skill. The simple act of baking bread is a wonderful and rewarding practice.
Happy baking! You can do this.