
Of course! Coconut Candy Balls are a classic, no-bake treat that’s incredibly easy to make and always a crowd-pleaser. They’re often called “Coconut Snowballs” or “German Chocolate Candy Balls.”
Here are a few popular variations, from the classic condensed milk version to a healthier, date-sweetened option.
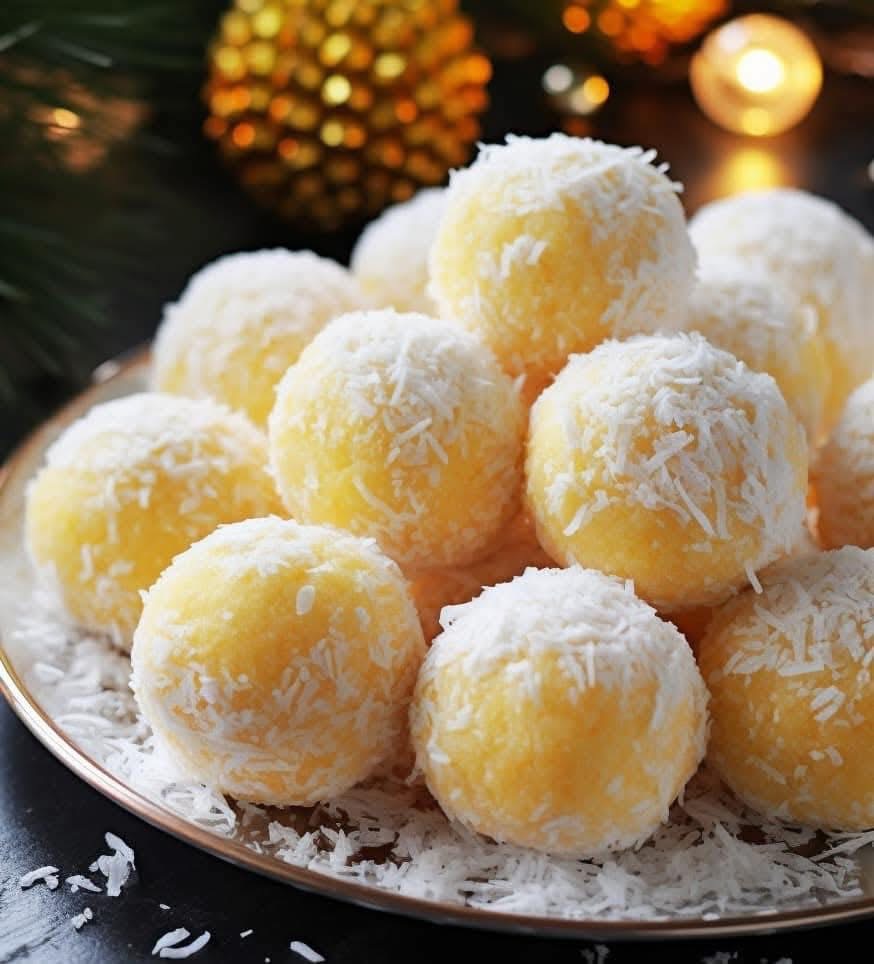
- The Classic: Sweetened Condensed Milk Coconut Balls
This is the most traditional and decadent version. They are rich, sweet, and have a wonderfully chewy texture.
Yields: About 24-30 balls
Prep time: 15 minutes
Chill time: 1 hour
Ingredients
· 1 (14 oz) package sweetened shredded coconut (about 5 cups)
· 1 (14 oz) can sweetened condensed milk
· 2 cups powdered sugar, divided
· 1 tsp vanilla extract
· A pinch of salt
· Optional Coating: 1/2 cup finely chopped nuts, extra coconut, or chocolate sprinkles
Instructions
- Combine: In a large mixing bowl, combine the shredded coconut, sweetened condensed milk, vanilla extract, and a pinch of salt.
- Add Sugar: Gradually add about 1 ½ cups of the powdered sugar, mixing until a thick, sticky dough forms. If it’s still too sticky to handle, add more powdered sugar until it’s rollable.
- Chill: Cover the bowl and refrigerate for at least 30-60 minutes. This makes the mixture much easier to handle.
- Form Balls: Place the remaining ½ cup of powdered sugar (or your optional coating) in a small bowl. Scoop out about a tablespoon of the mixture and roll it into a 1-inch ball between your palms.
- Coat: Roll the ball in the powdered sugar or your chosen coating until heavily covered.
- Set: Place the finished balls on a baking sheet lined with parchment or wax paper.
- Chill Again: Refrigerate for at least another 30 minutes to firm up before serving. Store in an airtight container in the refrigerator for up to a week.
- The Easy Roll-Out: Vanilla Wafer Coconut Balls
This version uses vanilla wafers as the base, resulting in a slightly different, but equally delicious, texture. No baking required!
Yields: About 24 balls
Prep time: 15 minutes
Chill time: 1 hour
Ingredients
· 1 (11 oz) box vanilla wafers, finely crushed (about 2 ½ cups of crumbs)
· 1 ½ cups sweetened shredded coconut
· 1 cup powdered sugar
· 1/2 cup finely chopped nuts (pecans or walnuts work well)
· 3 tbsp light corn syrup or honey
· 1/4 cup orange juice or milk (orange juice adds a lovely flavor)
Instructions
- Crush Wafers: Place the vanilla wafers in a zip-top bag and crush them into fine crumbs using a rolling pin. Alternatively, pulse them in a food processor.
- Combine: In a large bowl, mix the vanilla wafer crumbs, shredded coconut, powdered sugar, and chopped nuts.
- Add Wet Ingredients: Pour in the corn syrup (or honey) and orange juice (or milk). Stir until everything is thoroughly combined and a thick dough forms.
- Form and Chill: Roll the mixture into 1-inch balls. No need to coat them further. Place them on a parchment-lined tray and refrigerate until firm, about 1 hour.
- The Healthier Option: No-Bake Date & Coconut Balls
These are sweetened naturally with dates and are vegan-friendly. They are perfect for an energy bite!
Yields: About 12-15 balls
Prep time: 15 minutes (+ 30 mins for soaking)
Chill time: 30 minutes
Ingredients
· 1 cup pitted Medjool dates (about 10-12 dates)
· 1 cup unsweetened shredded coconut, divided
· 1/2 cup raw almonds or cashews
· 1 tbsp coconut oil
· 1 tsp vanilla extract
· A pinch of salt
Instructions
- Soak Dates: If your dates are not very soft, soak them in warm water for 10-30 minutes, then drain thoroughly.
- Process: In a food processor, combine the soaked dates, ¾ cup of the shredded coconut, nuts, coconut oil, vanilla, and salt.
- Blend: Pulse until the mixture is finely chopped and begins to clump together. It should stick together when you press it between your fingers.
- Form Balls: Scoop out the mixture and roll into balls.
- Coat: Roll the balls in the remaining ¼ cup of shredded coconut to coat.
- Set: Chill in the refrigerator for at least 30 minutes to firm up. Store in the fridge.
Tips for Success for All Versions
· Sticky Hands: If the mixture is too sticky when rolling, lightly dampen your hands with water or coat them with a little powdered oil.
· Toasting Coconut: For a deeper flavor, toast the shredded coconut you use for the coating in a dry skillet over medium heat until lightly golden. Let it cool completely before using.
· Chocolate Dip: For an extra-decadent treat, dip the finished, chilled balls in melted chocolate and let them set on parchment paper.
· Storage: All versions must be stored in an airtight container in the refrigerator. They can also be frozen for up to 3 months.
Enjoy your delicious, homemade coconut candy balls