
Of course! The “best” Southern fried chicken batter is more than just a recipe—it’s a technique. It’s about creating a crust that is shatteringly crisp, well-seasoned, golden brown, and firmly attached to juicy, flavorful chicken.
This method uses a time-honored buttermilk brine and a well-seasoned flour dredge for the ultimate result.
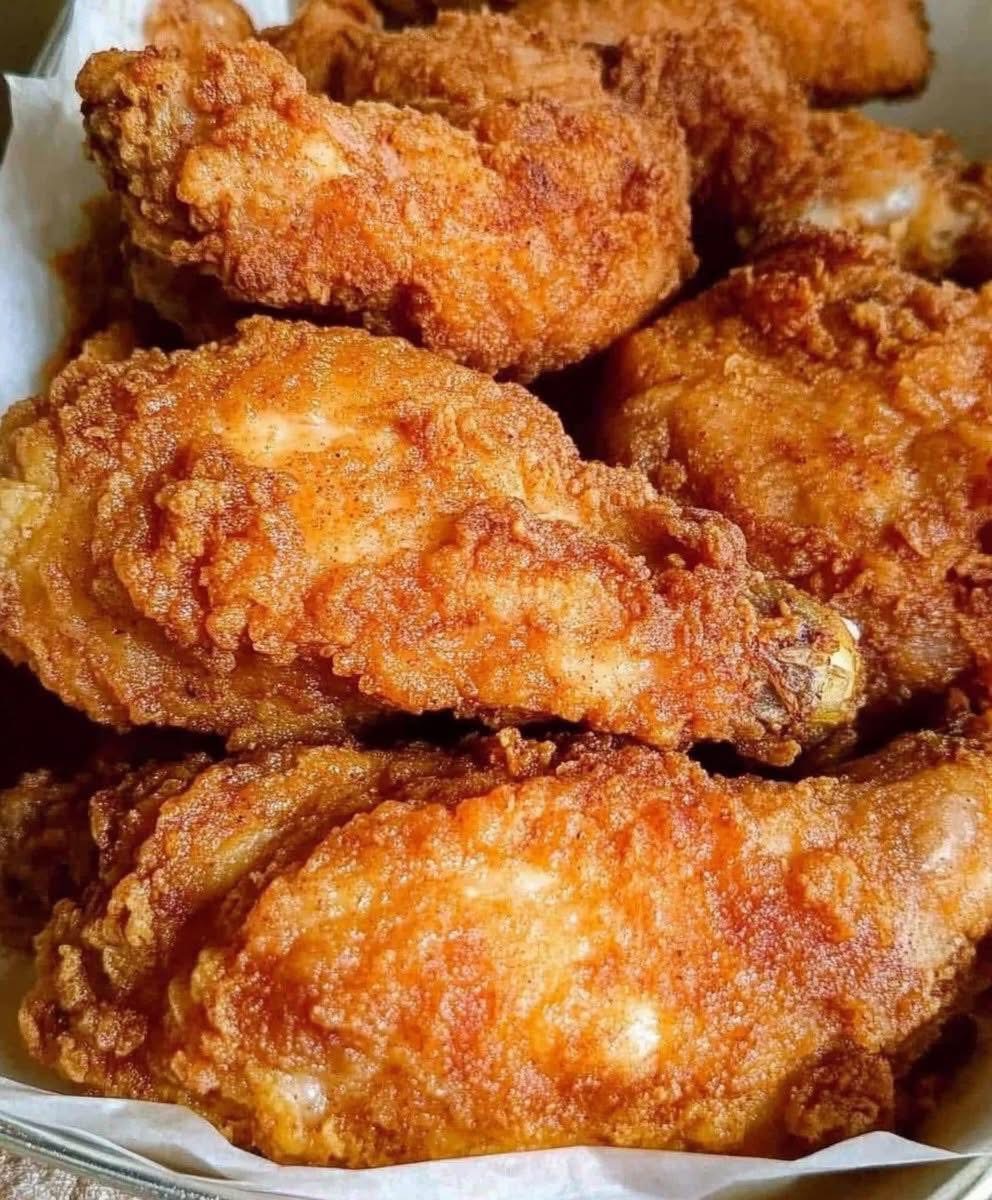
The Ultimate Southern Fried Chicken Batter & Method
This recipe is designed for a classic, craggy, and incredibly flavorful crust.
Yield: Enough for about 3-4 lbs of chicken (a whole cut-up chicken) Prep time: 15 minutes + crucial brining time (4-24 hours) Cook time: 20-30 minutes
Ingredients
For the Buttermilk Brine:
· 3-4 lbs chicken pieces (bone-in, skin-on for best results)
· 2 cups buttermilk (well-shaken)
· 2 tbsp hot sauce (like Texas Pete or Crystal)
· 1 tbsp salt
· 1 ½ tsp black pepper
· 1 tsp paprika
· 1 tsp garlic powder
For the Seasoned Dredge:
· 2 cups all-purpose flour
· ⅓ cup cornstarch (key for extra crispiness)
· 2 tsp salt
· 1 tsp black pepper
· 1 tbsp paprika (smoked or sweet)
· 2 tsp garlic powder
· 2 tsp onion powder
· 1 tsp cayenne pepper (adjust to your heat preference)
· 1 tsp dried thyme or oregano (optional, but authentic)
For Frying:
· Peanut oil, vegetable oil, or canola oil (best for high heat)
· Lard or shortening (for a truly traditional flavor, use a mix with oil)
Instructions: The Key Steps to Perfection
- The Brine (This is NON-NEGOTIABLE)
· In a large bowl, whisk together the buttermilk, hot sauce, salt, pepper, paprika, and garlic powder.
· Submerge the chicken pieces completely in the buttermilk mixture. Ensure every piece is coated.
· Cover and refrigerate for at least 4 hours, preferably overnight (12-24 hours). This tenderizes the chicken and infuses it with flavor and moisture.
- The Dredge (The “Double Dip” Secret)
· About 30 minutes before frying, take the chicken out of the fridge to take the chill off.
· In a large paper bag or a shallow dish (like a 9×13 pan), whisk together all the “Seasoned Dredge” ingredients.
· Remove one piece of chicken from the buttermilk brine, letting the excess drip off.
· Place it in the flour mixture and toss to coat thoroughly. Shake off any loose clumps.
· For an EXTRA CRAGGY crust: Dip the floured piece back into the buttermilk brine, let the excess drip off, and then place it back in the flour for a second coat. Press the flour onto the chicken to create lots of craggy bits. This “double-dip” method is the secret to a thick, crunchy, and layered crust.
· Place the fully dredged chicken on a wire rack set over a baking sheet. Let it rest for 15-20 minutes. This allows the coating to hydrate and set, which prevents it from falling off during frying.
- The Fry (Temperature is EVERYTHING)
· Pour oil into a large, heavy-bottomed Dutch oven or cast-iron skillet to a depth of about 1.5 inches. Heat over medium-high heat to 350°F (175°C). Use a thermometer!
· Work in batches. Carefully place the chicken in the hot oil, skin-side down, without overcrowding the pan. Overcrowding will drop the oil temp and make the chicken greasy.
· Fry for 6-12 minutes per side, depending on the size of the piece. The chicken is done when it’s a deep golden brown and the internal temperature reaches 165°F (74°C) for white meat and 175°F (79°C) for dark meat.
· Maintain the oil temperature between 300-325°F (150-163°C) during frying. Adjust the heat as needed.
· Remove the chicken and place it on a clean wire rack set over a baking sheet. Do not place it on paper towels, as this will trap steam and make the bottom crust soggy.
- The Rest
· Let the chicken rest for at least 10 minutes before serving. This allows the juices to redistribute and the crust to set into its final, crispy form.
Pro Tips for the Best Batter Ever:
· The Wet Hand/Dry Hand Method: Use one hand for handling the wet chicken (going into the flour) and your other hand for handling the dry flour (coating the chicken). This prevents your fingers from becoming a clumpy mess.
· Seasoning the Flour: Taste your flour mixture! It should taste strongly seasoned, almost a little too salty on its own. This ensures the crust is flavorful.
· The “Secret” Ingredient: A little cornstarch in the flour mix is a modern trick for an incredibly crisp and light crust that stays crispy longer.
· The Oil Temperature: If the oil is too cool, the chicken will be greasy. If it’s too hot, the outside will burn before the inside is cooked. A thermometer is your best friend.
· Keep the Rendered Bits: After frying, you can use the delicious brown bits left in the pan to make a simple gravy for mashed potatoes.
Enjoy your perfectly crispy, juicy, and authentic Southern fried chicken! It’s a labor of love, but absolutely worth it.