
Of course! Making perfect scrambled eggs is a simple art that relies on a few key techniques. Forget rubbery, dry eggs forever. Here’s how to achieve creamy, soft, and luxurious scrambled eggs every single time.
The Key Principles for Perfect Scrambled Eggs
- Low and Slow: This is the most important rule. Cooking over low heat is non-negotiable for creamy eggs. High heat makes them tough and watery.
- Fat is Flavor: Butter is your best friend. It adds richness and helps create a creamy emulsion.
- Don’t Overwhisk: Whisk just until the yolks and whites are combined. Overwhisking can incorporate too much air and make the eggs spongy.
- Constant Motion: Gentle, continuous stirring is the secret to forming small, soft curds.
🍳 The Foolproof Method for Perfect Scrambled Eggs
This method, inspired by chefs like Gordon Ramsay, yields the creamiest, most decadent results.
Prep time: 2 minutes Cook time: 10-15 minutes Serves: 1-2
Ingredients:
· 3 large, fresh eggs
· 1 tablespoon cold butter, cubed
· 1 tablespoon crème fraîche or full-fat sour cream (optional, for extreme creaminess)
· Salt and freshly ground black pepper
· Optional add-ins: Fresh chives, chopped dill, grated cheese (add at the end)
Equipment:
· A non-stick skillet
· A rubber spatula or wooden spoon
· A bowl for whisking
Instructions:
- Prep the Eggs: Crack the eggs into a bowl. Add a small pinch of salt now (it helps break down the proteins for a tender texture). Add a few grinds of black pepper. Whisk just until the yolks and whites are fully combined—no more.
- Preheat the Pan: Place your non-stick skillet on the stove over low heat. Add the cubed cold butter. Let it melt slowly and foam slightly, but do not let it brown.
- Cook Low and Slow:
· Pour the eggs into the pan with the melted butter.
· Let them sit for about 20-30 seconds until you see a thin layer of cooked egg starting to form at the bottom.
· Now, begin stirring slowly and constantly with your spatula. Push the cooked curds from the bottom and sides of the pan toward the center, allowing the uncooked egg to flow to the edges. - On and Off the Heat (Pro Method):
· After 3-4 minutes, when the eggs have started to form small, soft curds but are still very wet, take the pan off the heat. Keep stirring.
· After 30 seconds, put the pan back on the low heat for 15-20 seconds. Keep stirring.
· Repeat this process of taking the pan on and off the heat 3-4 times. This gives you ultimate control and prevents overcooking. - Finish Creamy:
· When the eggs are mostly cooked but still look a bit wet and creamy (they will continue to cook from residual heat), take the pan off the heat for the last time.
· If using, fold in the crème fraîche or sour cream. This stops the cooking process and adds incredible richness.
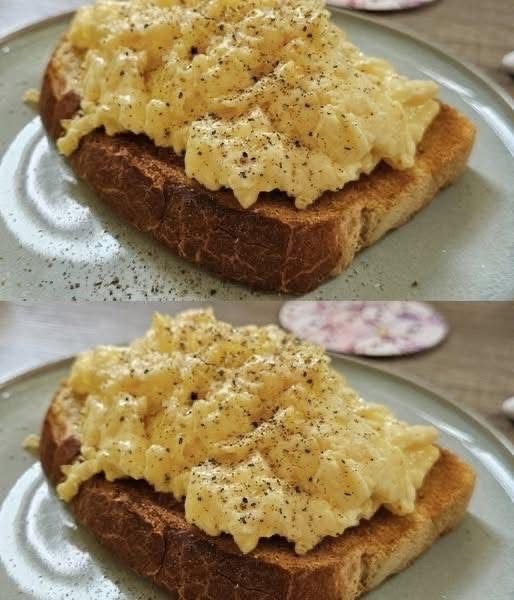
· Fold in any other add-ins like chives or cheese. - Serve Immediately: Plate the eggs immediately on a warmed plate. They will be soft, creamy, and slightly runny—this is perfection. Season with one more tiny pinch of flaky sea salt on top.
👩🍳 Pro Tips for Every Style:
· For Fluffy, Larger Curds: Use a higher heat and whisk less vigorously. Cook without the on/off method, but still stir constantly until set.
· For Diner-Style Firm Eggs: If you genuinely prefer firmer eggs, you can cook them over medium-low heat, stirring less frequently to allow larger curds to form. But still, remove them from the heat just before they look 100% done.
· The Secret Ingredient: A tiny splash of water or milk (about 1 tsp per egg) whisked in at the start can create steam as it cooks, leading to slightly fluffier eggs. However, butter and cream provide far more flavor and creaminess.
· Always Use a Non-Stick Pan: It makes the process easier and cleanup a breeze.
· Warm Your Plates: Cold plates will make your perfect eggs cold in seconds. A quick rinse under hot water and a dry will do the trick.
Remember, the eggs are done in the pan, but they’ll be perfect on the plate. Now, enjoy your breakfast mastery